

Hi, welcome back to Life Captured. Today’s post is a continuation from My Sunday Snapshot #7.
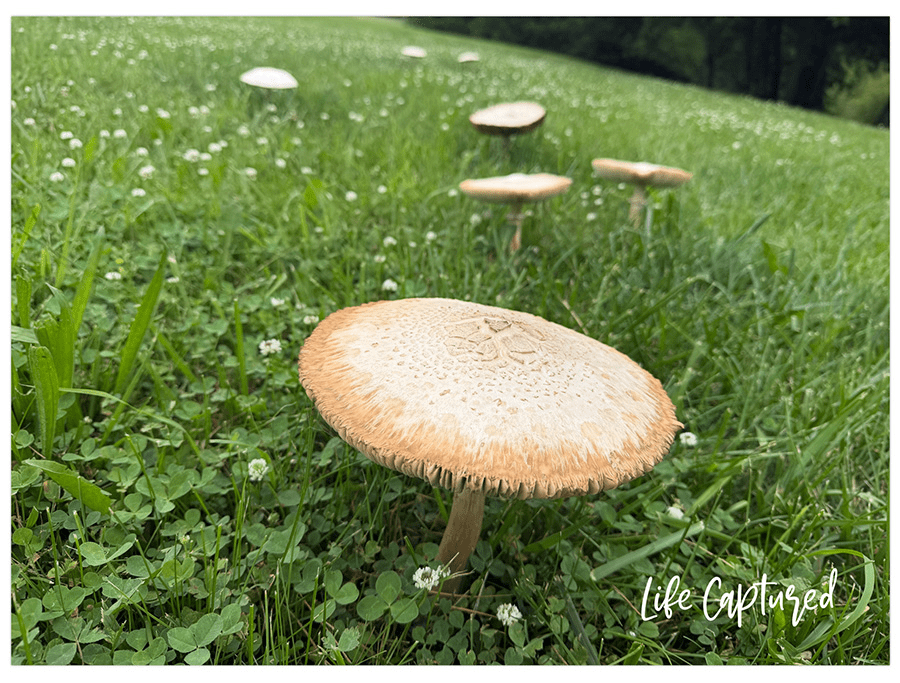
Remember last week’s guessing game? I challenged you to guess what that mystery image was. Turns out, it’s the underside of a mushroom!
Who got it right? Let me know in the comments!


My Blogging Journey Tip: Preparing Photos For My Blog.
While this step isn’t strictly mandatory, it is a key part of my personal workflow. Drawing from my professional photography and online proofing experience, I’ve found that these adjustments optimize the shot right from the start. The ultimate goal is taking the picture requiring minimal edits.
Take a look at the image above. The image on the left is straight out of camera. When sliding the bar to the left, the edited image is on the right. Very little was done edit wise.
The tools I use:
- iPhone 17 ProMax – camera
- Project Life App – making collages
- PicTapGo App – edit images
The two apps are available for iOS. Project Life is available for Android as well. The editing is minimal. My primary concern is white balance, levels and sharpen.
I do use more tools. Those are located on my laptop. Photoshop and of course the blog administrative area. White balance, levels and sharpen are done while in phone. Photoshop is used to size the image for web. I could use Photoshop for all edits. However, using my phone saves me time during my workflow. Basically using the laptop to write my posts. When an image is scaled down (a large image), pixels are discarded. This causes the resized image to soften the details. Sharpening gives photos the crispness that users expect on digital displays.


The Adjustments (Edits)
1. Level Adjustments (Left Image) I’ve circled two triangles here to show the level adjustment. In this specific image, no adjustment was needed because the gray histogram area already reaches both triangles. If it doesn’t, you simply slide the triangles until they touch the gray. Leave the center triangle in the middle of the histogram. The best part? This adjustment works exactly the same way in this app as it does in Photoshop.
2. Sharpening (Middle Image) This image shows how to sharpen the details. Selecting the “Crispy” setting in this app gives you the exact same result as using the “Sharpen” filter in Photoshop.
3. Opacity & Borders (Right Image) The final image shows the opacity being lowered. As a personal preference, I typically drop it from 100 down to 50, though the exact number depends on the specific photo. I also like to add a small border around my pictures and collages. It’s not a strict rule, but it helps with image spacing so I don’t have to mess with individual picture settings later.
For this particular post, the images were already good to go! My main focus was simply pairing them up with the text.
Note: I’ve added this post to the Learning to Blog (Out of Sequence) page!
How do you prepare your images? Or do you even worry about editing? Let me know in the comments 🙂
Yesterday is today’s memory.
Be sure to capture your memory today!
All the best,.
Debra Ellen

Wow, that’s good to know. I have no idea what I’m doing when I use my iphone to take a picture… I’m always kind of winging it.
The newer phones can take really wonderful images. The phone I use can even shoot RAW. I haven’t utilized it. I’ve been watching videos to understand the camera and its functions. I’ve had many of the images printed as large as 24×36 (grand daughters). My husband said to me once, who would buy a phone for the camera? Looking at him, I said I would and have! Carrying a large camera and gear is not what I want at this time. Simple and small!
Thank you for the visit.
All the best.
Very neat!
Have a fun week, Joanne!
All the best.
Oh wow! The underside of a mushroom, I thought it was pages from a book. lol
I had fun trying to take this photo. It wasn’t as easy as just pressing the button. It took about four tries to get the best angle.
Have a fun week.
All the best.
Oh, I take my pictures with my mobile. And store it on my laptop. I adjust the size and accentuate the colours when I think it looks better. But that is all.
Have a good time
Violetta
Hi, Violetta. I do the basics. At least what I consider basic- white balance, levels and crop sharpen for the web.
Thanks for the visit.
All the best.
I would never have guessed that was a mushroom. But, now that you say it, I can’t unsee it. Thanks for the editing tips, too!
https://marshainthemiddle.com/
Hi, Marsha. It was fun to see what others thought it looked like.
Thanks for the visit.
Have a fun week.
In the old days of blogging I used my DSLR camera and actually, sometimes I still do, but overall the phone does a great job. I like PicMonkey to resize and edit my photos…but like you said, phones are so good today, very little editing is usually needed. Great mushroom shot!
Hi, Kim. I still have my DSLR and lenses. That equipment is heavy and not fun to pack around. My iPhone is so much more convenient! I will check out PicMonkey. Never heard of this one.
Have a fun week.
All the best.
So fun to see the mushrooms, and thanks for the photography tips. Appreciated. 🙂
There for a while, I was seeing mushrooms everywhere. I image little fairies huddling under the mushrooms!
Have a fun week.
All the best.
I just recently started editing. I used to just upload them as they are, but I work in low light most of the time, due to light sensitivity, so my pictures had either a grey or yellow tint due to artificial lighting. My partner recently mentioned white balance, and that was it. I’ve started editing my images and they’re looking so much better. I have used Canva for years, to add watermarks and prep my images for social media etc, so I just use their balancing tools while I’m in there.
My question is, how do you make that slider on a photo? So cool for before and afters!
Hi, Char. In WordPress (.org) I am using the responsive blocks. The block is called ‘image-compare’. If you are using blogger, I wouldn’t know how it would be done on that platform.
All the best.